Philips Sonicare Elite (Pro) Model Toothbrush Battery Repair and Replacement Instruction
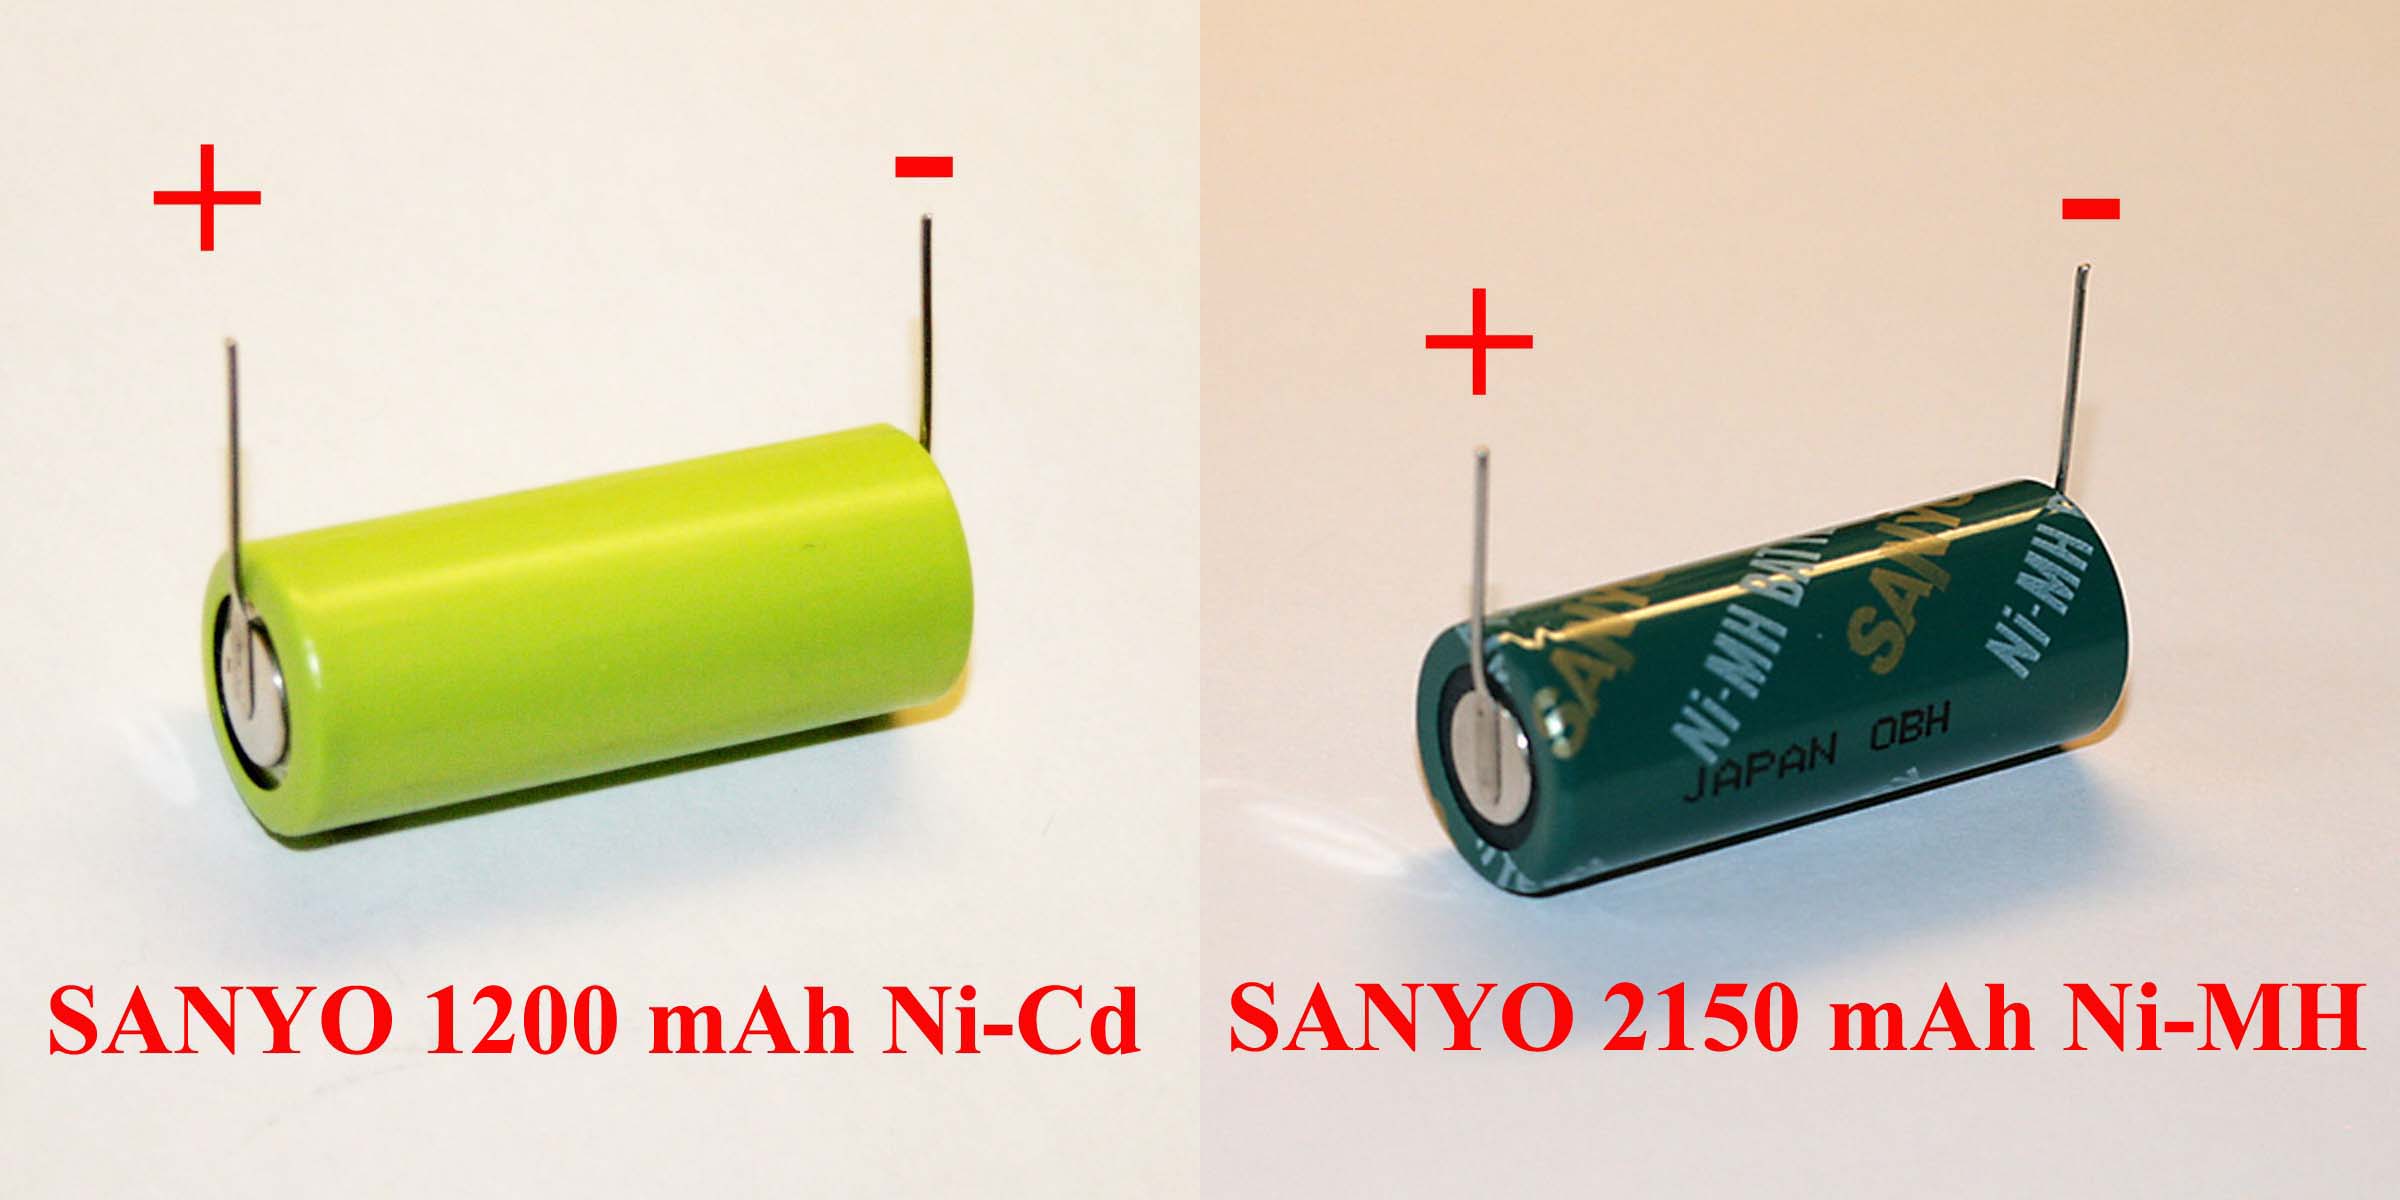
Battery Selection Guide: The original battery is NiCd. But you have a better choice by going with NiMH, which is fully compatible with NiCd in charging and discharging performance and has much larger capacity. The benefit of larger capacity is your handle holds more energy and recharges less often, resulting in much longer battery and handle life. Better yet, NiMH doesn't suffer from the "memory effect" associated with NiCd. Both are available in our Battery Store, and so are the other good quality NiCd and NiMH batteries for your choice. Due to the limited battery space in the battery compartment, the long pins in the picture shown below are a must for trouble-free and safe installation onto the circuit board. The long pins welded to the terminals will make the battery insertion very easy. We design the welded pins to save you the trouble inserting, and highly recommend the NiMH version with pins.
We are different from all the other toothbrush battery sellers; we test all batteries for correct charging and discharging before shipping. It is VERY UNLIKELY a new battery you receive from us is defective. If your handle doesn't work after battery replacement, PLEASE check the charging to make sure the battery is charged correctly before use, unless it is physically damaged in shipping. Some models are known to have the battery indicator showing low prematurely. Instructions on solving this issue is provided free with battery.
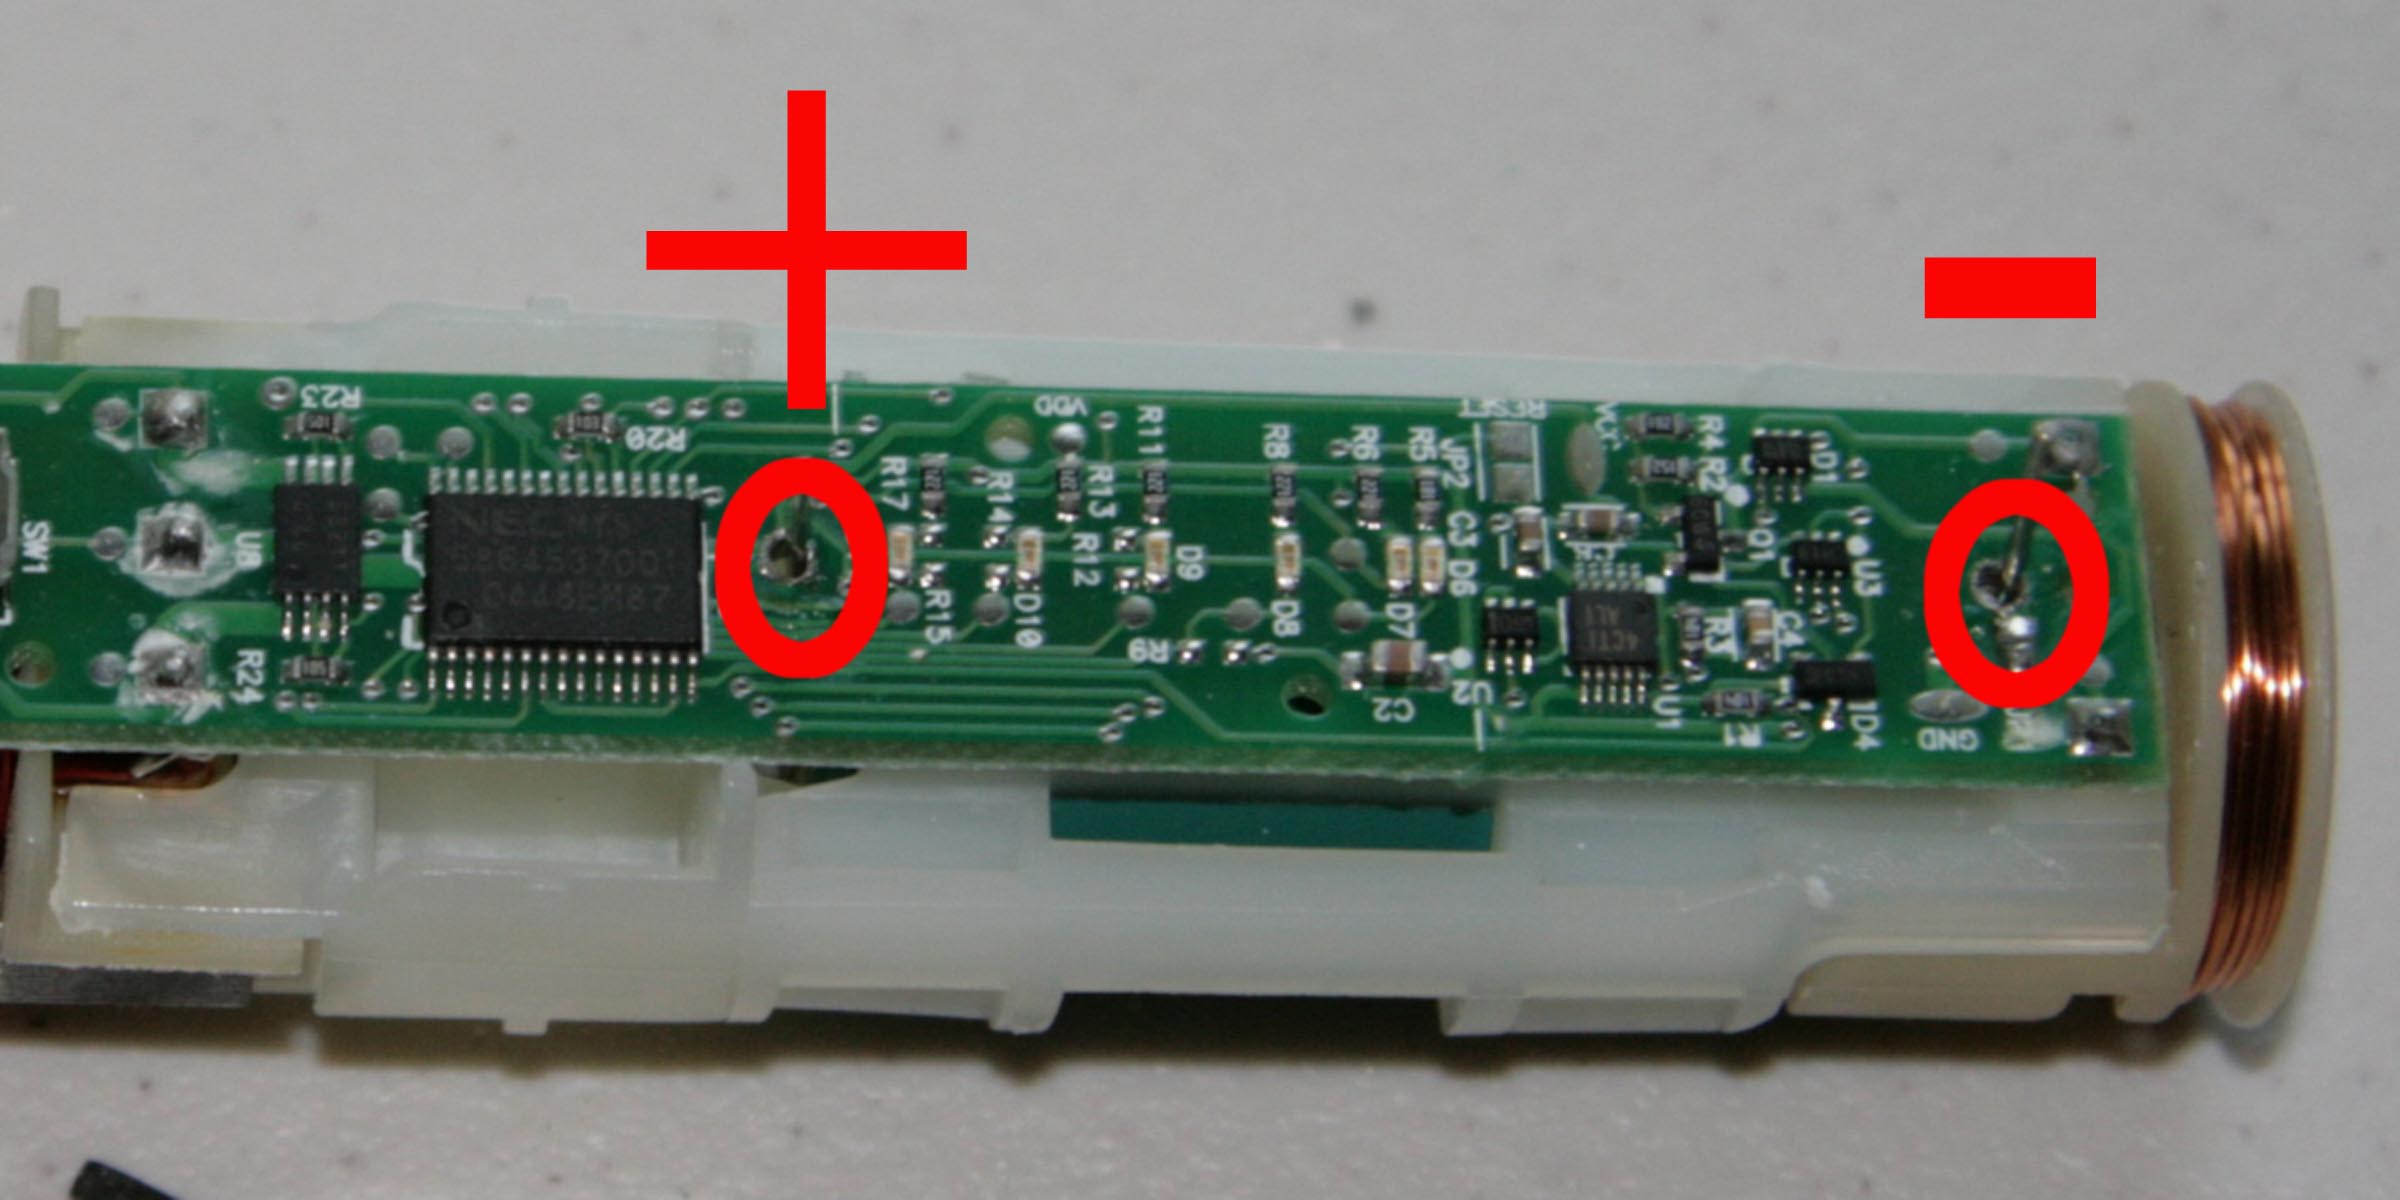
Step 7: Orient a new battery with positive on the top and negative on the bottom. The battery has marking of + on the cylindrical wall. Alternatively, the positive side of the battery is indicated by the depressed ring around that end of the battery. Carefully insert into soldering holes and solder both pins to the circuit board. Cut the excess with scissors. Reinstall the LED lens.
Step 8 (Optional): This step is optional unless the O-Ring is broken or you want additional waterproofing. (Do it only after you have successfully verified that your handle works.) Apply sealant around the top of the inner part above the O-Ring.
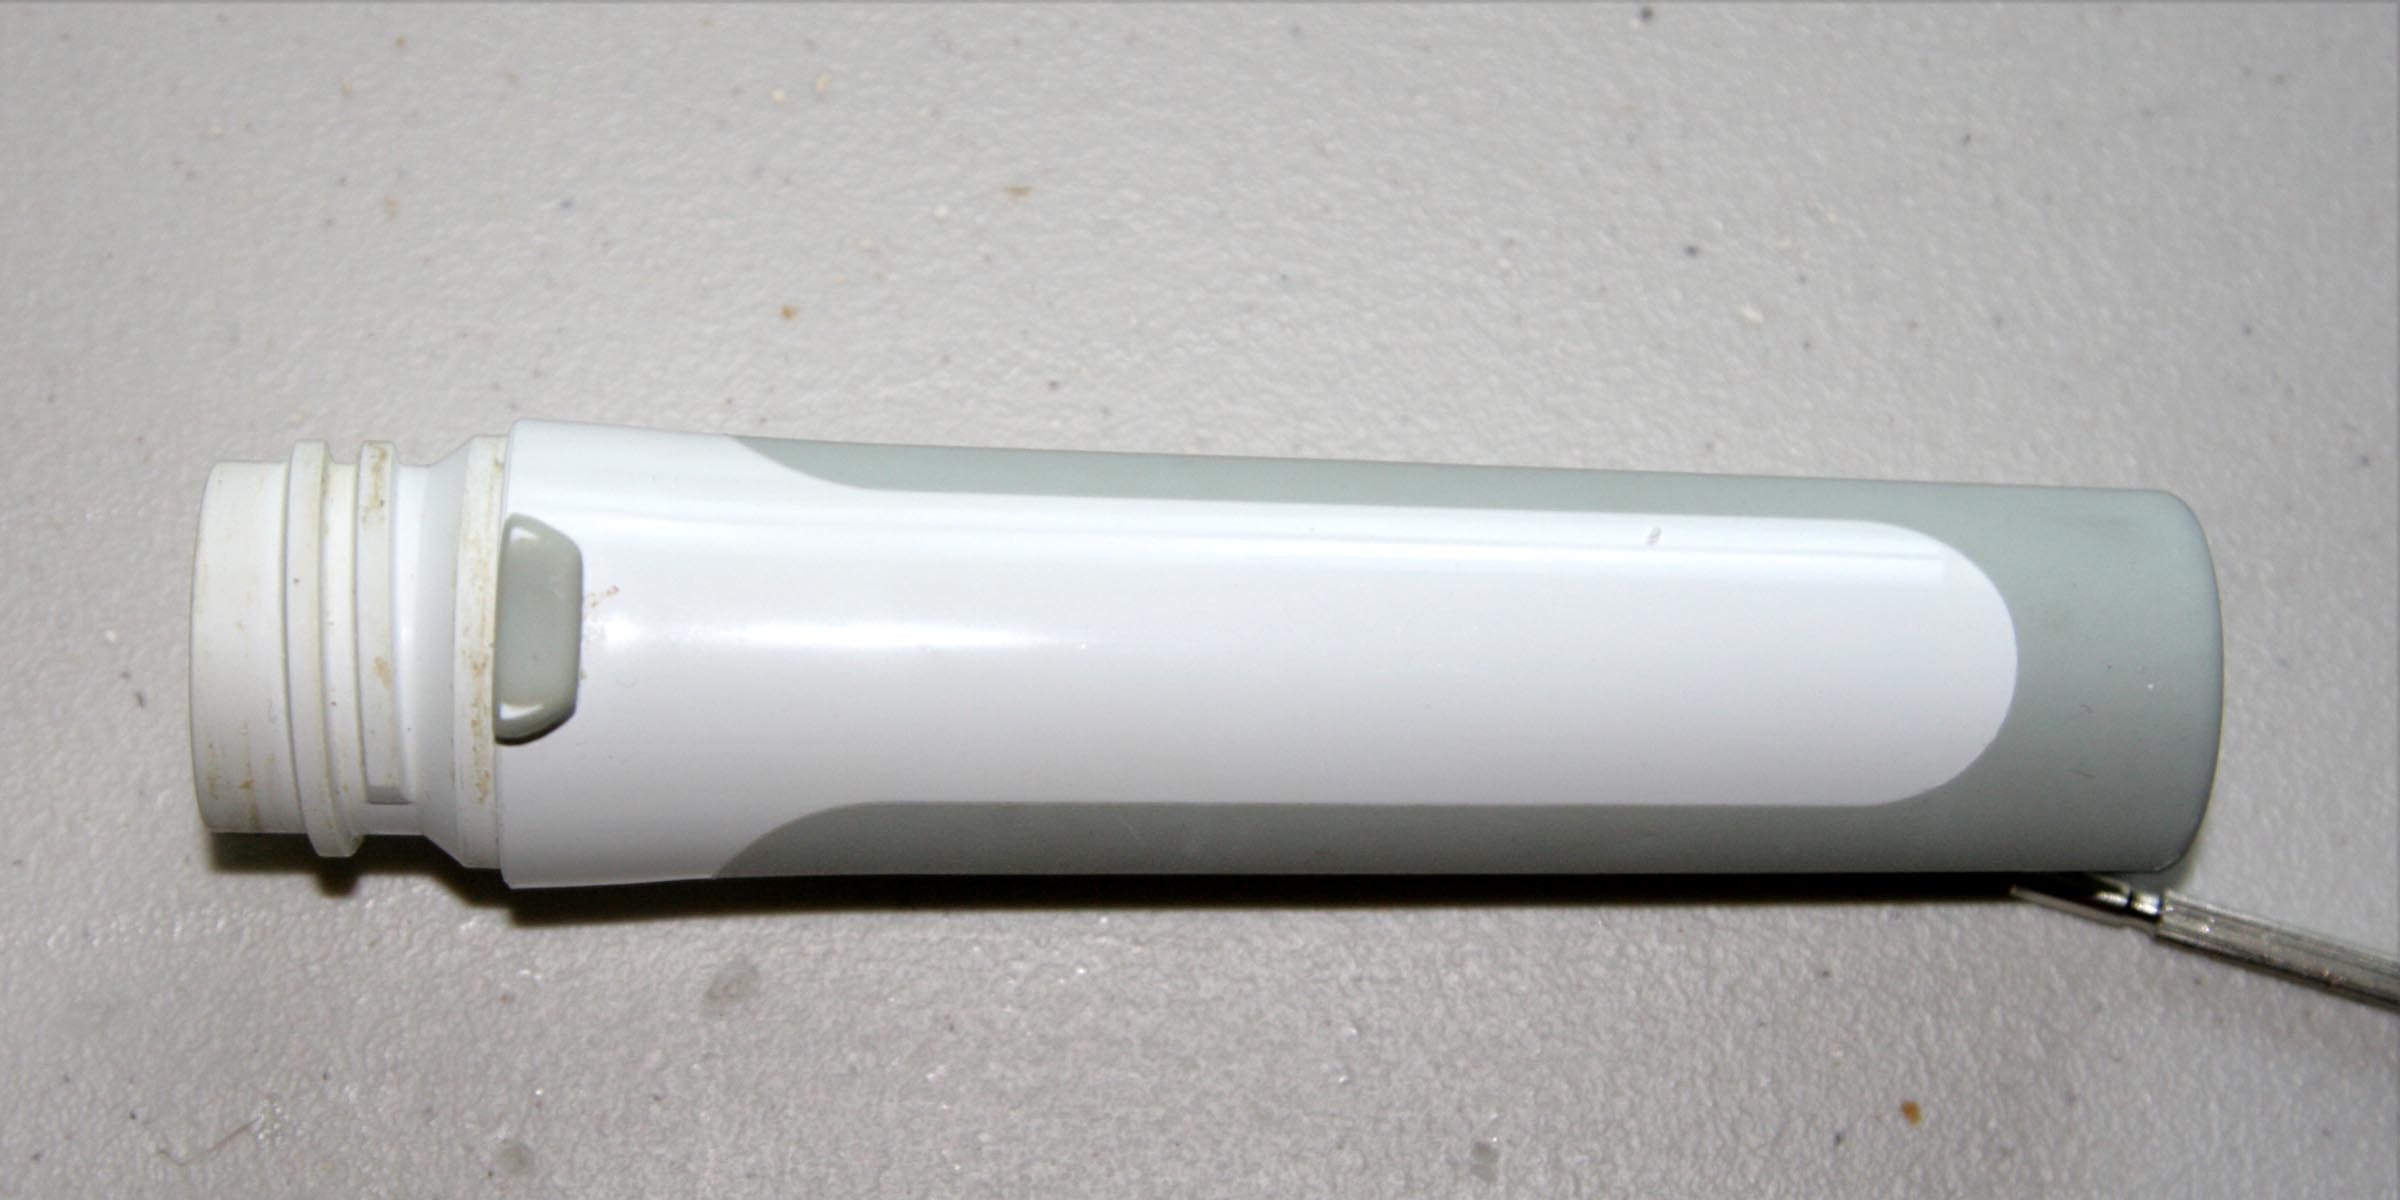
Step 9: Slide the inner part back into the housing. You may need to apply a little force to get it to back into place. For Elite Pro model, reattach the small trapezoidal piece to lock everything in place. Reassemble the brush and test it out.
This instruction is provided to you for FREE. Both battery and battery replacement service are available by contacting us by the email shown below. Some tools needed for replacing battery and coupons to buy a new handle are sometimes linked in this website from third party sponsors.
Please let us know if you have any suggestions so we can do better in providing these instructions for you and future visitors. Please specify the step number in your email. Contact email link: etoothbrushcare@gmail.com
Paypal Payment Address: etoothbrushcare@gmail.com